Ah, that feeling when you scroll through a well-designed website with beautiful finishing touches. A rotating text animation can take your website’s design to the next level, but how do you make one?

If you’ve been scouring the internet for a tutorial on how to create a rotating text animation in Elementor Pro, good news – you’ve found it! I’m going to break it down for you step-by-step.
Are you a Showit user? Check out my accompanying tutorial on how to add a rotating text animation to your website using Showit.
Disclaimer: We are proud affiliates for some of the products mentioned in this post. If you make a purchase after clicking on these links, we’ll receive a commission at no extra cost to you. We only recommend tools we’ve tried, tested, and loved.
How to Add a Cool Rotating Text Animation to Your Website Using Elementor Pro
To follow this tutorial, you’ll need:
- Access to your WordPress environment
- An active subscription to Elementor Pro
Got those two things? Awesome! Now, log into the WordPress backend of your website, navigate to the page where you’d like to add this rotating text animation and click “Edit with Elementor” to get started.
Step 1: Add the “Text Path” Widget
The first step to creating a rotating text animation in Elementor Pro is to add a Text Path widget to your page. To find this widget, type “Text Path” into the Elementor search bar.
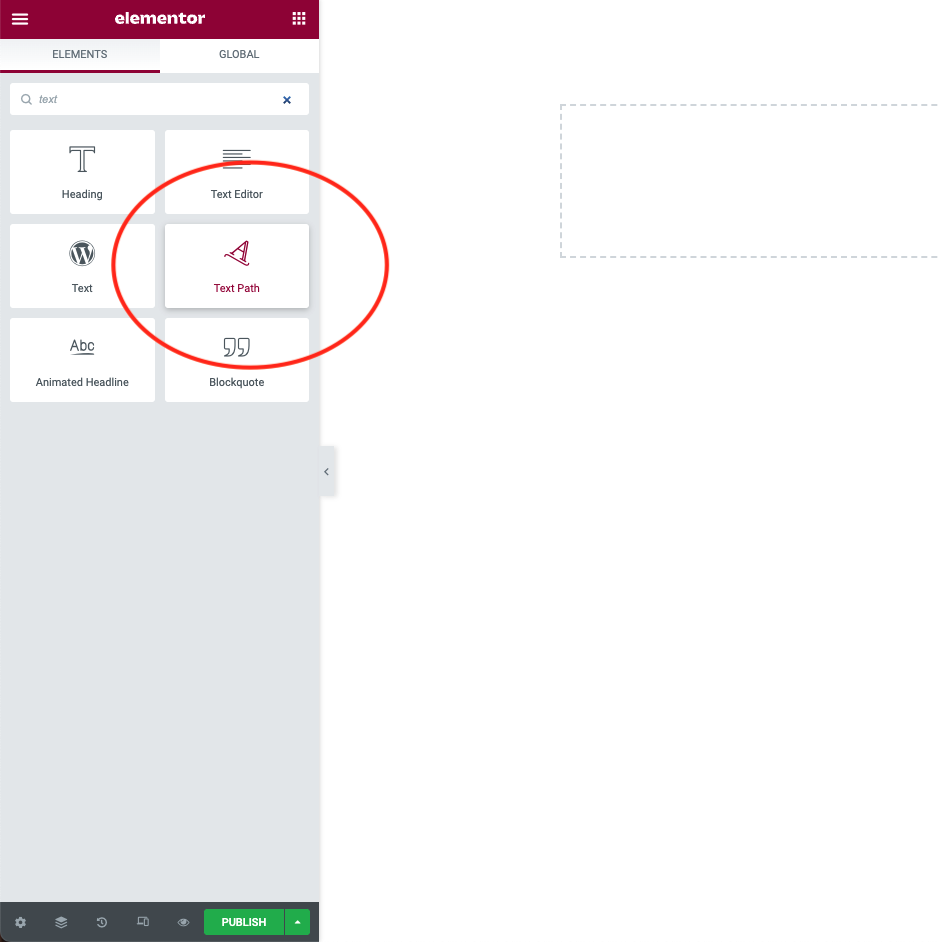
Then, drag and drop the widget onto the page in whatever column you’d like to appear.
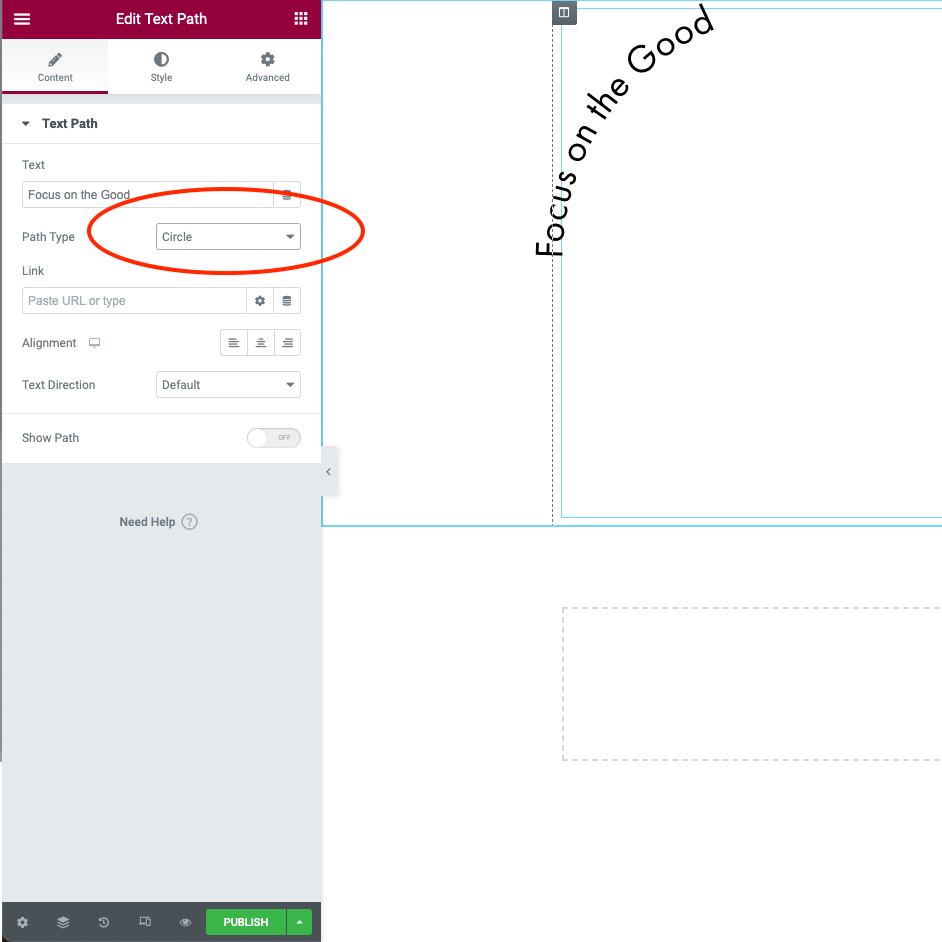
Step 2: Change the Shape and Style of the Text
After adding the Text Path widget and changing the placeholder text, the next step is to alter the shape of the text.
To do this, select “Circle” from the Path Type dropdown, located in the widget’s settings.
Next, from the “Style” tab, adjust the text path size, typography, and text color to match your branding and preference. You may have to adjust the letter and word spacing until it looks just right.

Step 3: Add Code to Make the Text Rotate
This is where the magic happens! We need to add a few lines of code to create the text animation effect.
Navigate to the Advanced tab of the Text Path widget and open the “Custom CSS” section.
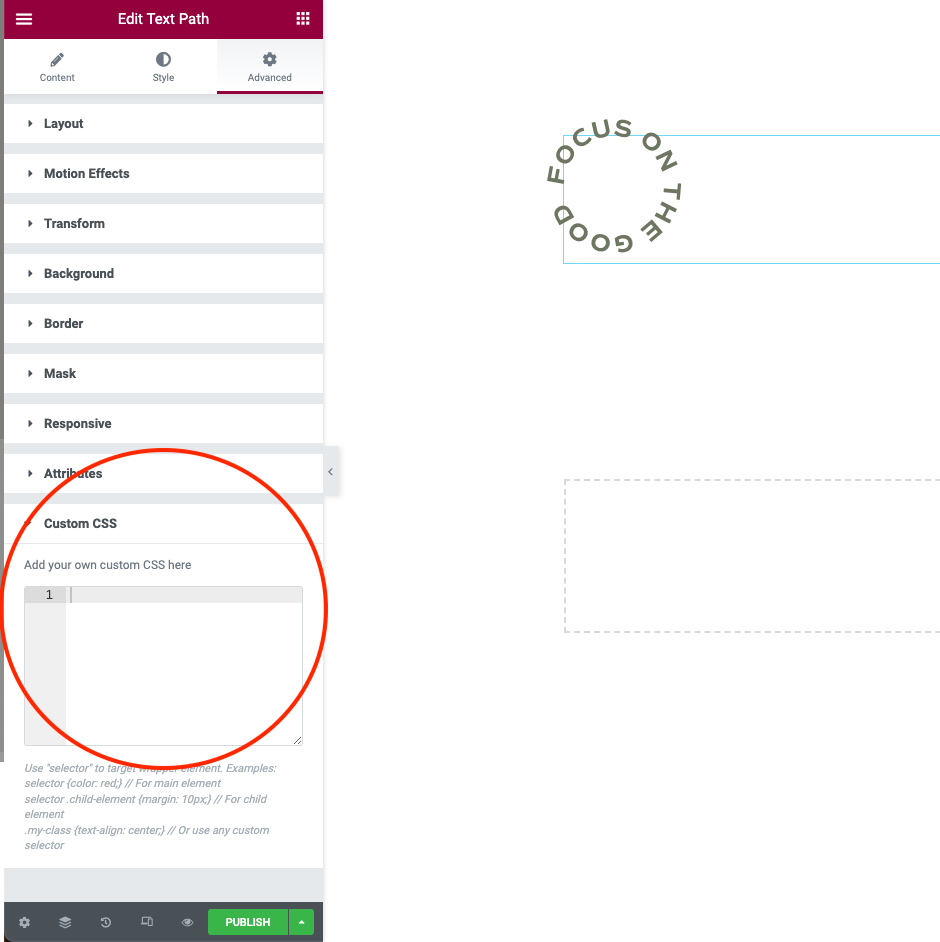
In this area, add the following CSS:
selector svg{
    animation: rotate 20s linear infinite;
}
@-webkit-keyframes rotate {
  0% {
    transform: rotate(0deg);
  }
  100% {
    transform: rotate(360deg);
  }
}
@keyframes rotate {
  0% {
    transform: rotate(0deg);
  }
  100% {
    transform: rotate(360deg);
  }
}
You can adjust “20s” in this first line to control the speed of the animation:
rotate 20s linear infinite
This number represents how long it will take (in seconds) for the text to make one complete loop. So, increasing this number will make the rotating text animation slower, while decreasing the number will make the animation faster.
Step 4: Adjust the Rotating Text’s Position
Now that we’ve got the animation looking how we want it, it’s time to put it where we want it.
Start by using the Alignment option on the Content tab of the Text Path widget. Set the alignment to get the rotating text animation close to where you want it to end up.

Then, head to the Advanced tab and adjust the margin values until the text lies precisely where you’d like it to go.
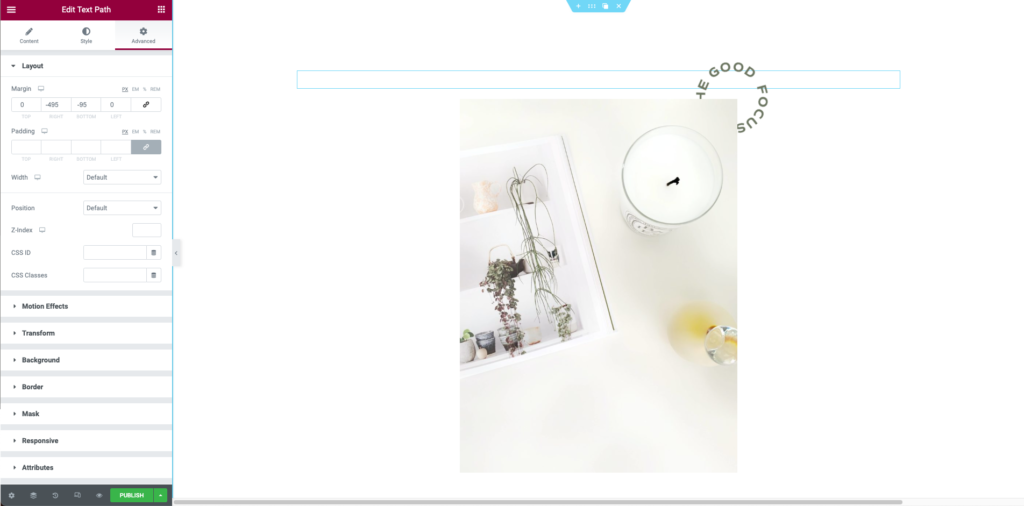
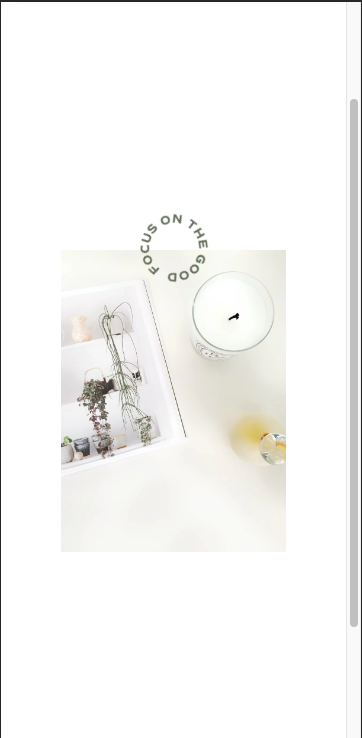
In this example, I’ve added an image to my page, and I’d like the rotating text animation to layer on top of the photograph. As you can see, the text is currently behind the image which is the opposite of what I want.
To fix this, I’ll increase the Z-Index of the Text Path widget to 1. This option is also on the Advanced tab.
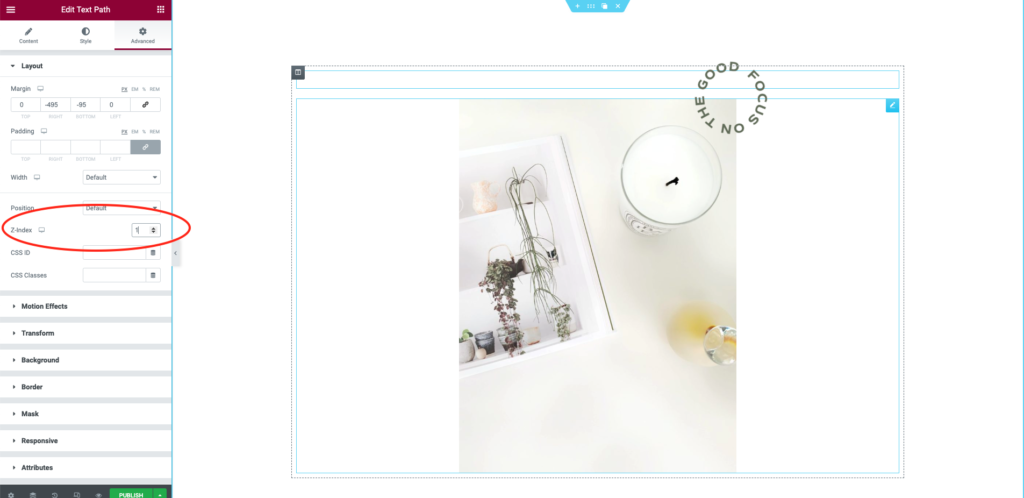
Perfect! That’s exactly what we’re going for.
Step 5: Adjust the Rotating Text Animation on Tablet and Mobile
There’s just one final important step to complete before we hit “Publish” – making sure the rotating text animation displays properly on tablets and mobile devices.
Click the Responsive icon at the bottom of your Elementor editing panel. Then, choose the Tablet or Mobile view.
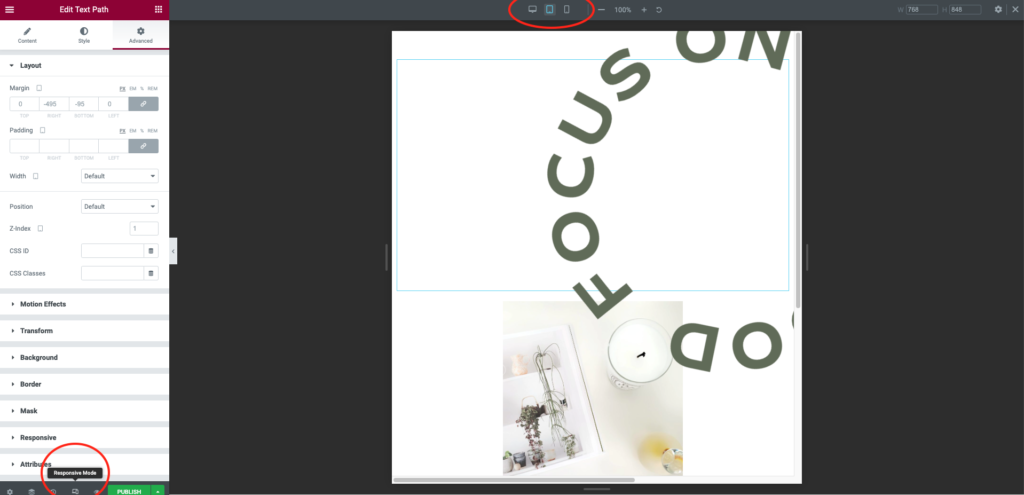
You’ll notice that the rotating text animation needs some editing on both of these screen sizes. Return to the Style tab to adjust its size, and reposition it by changing the margin values on the Advanced tab.
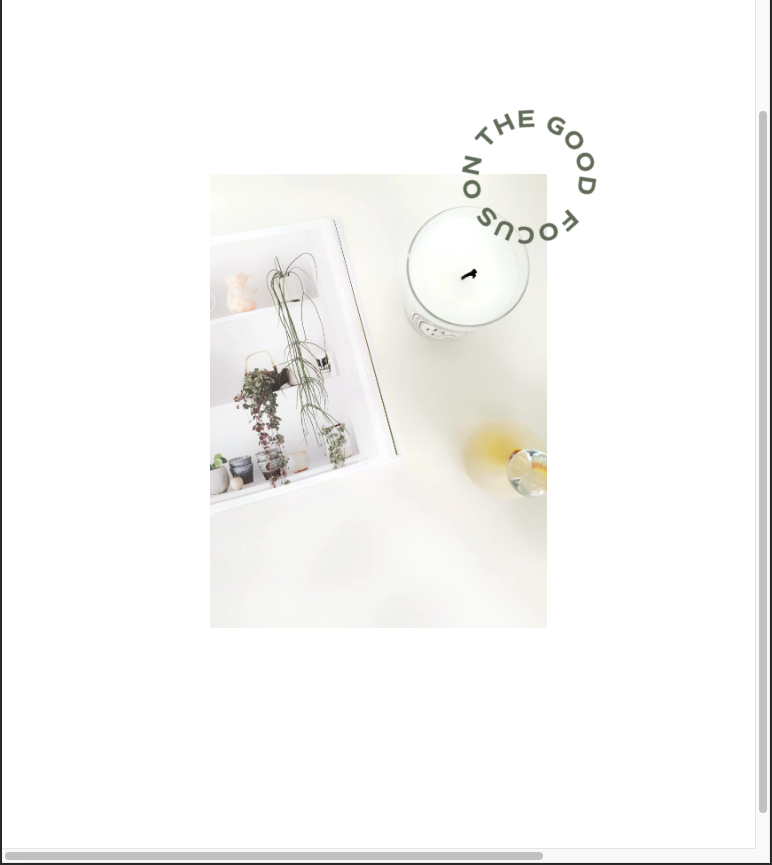
All done! Be sure to save your changes and click the green “Update” button at the bottom of the Elementor editing panel to publish your page.
Save and share this tutorial as a reference to make all your future website development projects easier!
Need help getting a better handle on using WordPress?
Check out our Beginner’s Guide to WordPress